Overview
Setting up Trimlii is quick and straightforward. By the end of this guide, you'll have:
- A verified Trimlii account
- Your services added with prices and durations
- Your staff members configured
- Your business hours set
- A live booking page ready to share with clients
Let's get started!
Step 1: Create Your Account
Visit the signup page to create your Trimlii account. You'll need to provide:
Business Name
Enter your salon's name exactly as you want clients to see it. This will appear on your booking page.
Business URL
Choose a custom URL for your booking page (e.g., yoursalon). This creates a link like app.trimlii.com/yoursalon that you'll share with clients.
Email & Password
Enter your email address and create a secure password (at least 6 characters). You'll use these to log in to your dashboard.
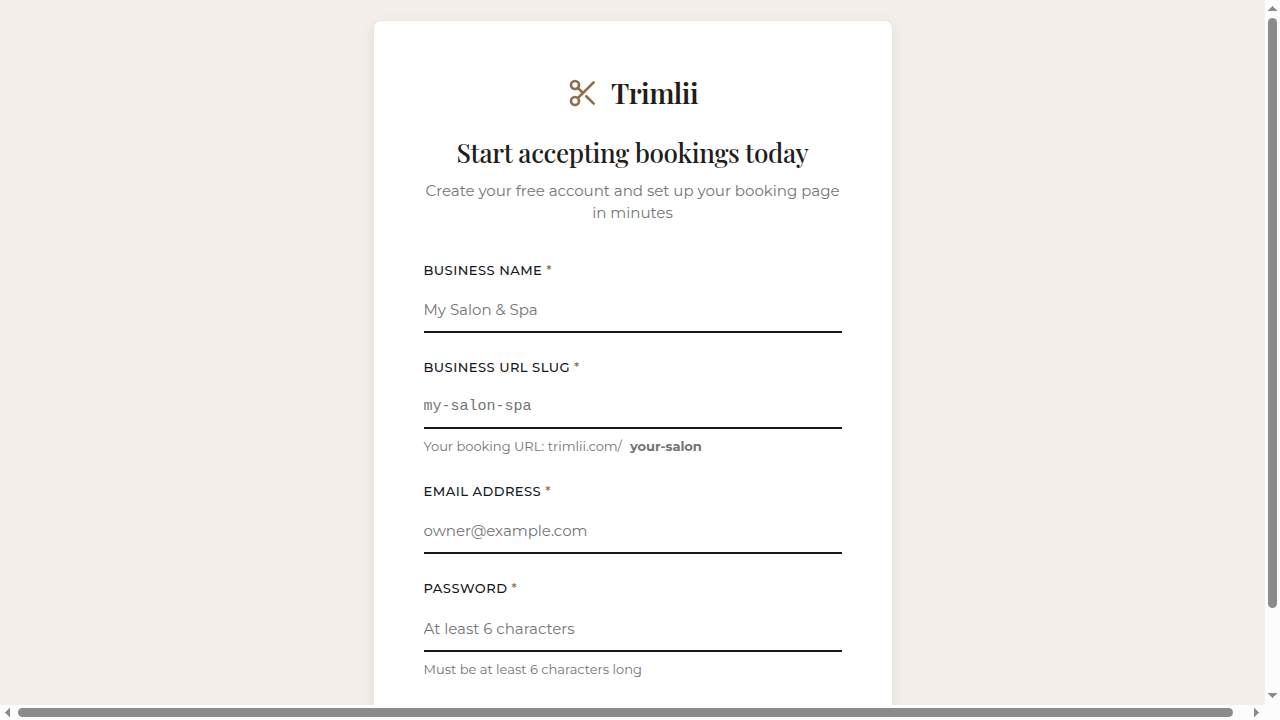
Your business URL is permanent and must be unique. Choose something short and memorable that represents your brand, like your salon name without spaces.
Step 2: Verify Your Email
After signing up, we'll send a verification email to the address you provided. This step ensures the security of your account.
- Check your inbox for an email from Trimlii
- Click the verification link in the email
- Return to Trimlii and click "I've Verified My Email"
Check your spam or junk folder. If it's not there, click "Resend Verification Email" on the verification page. The link expires in 1 hour.
Step 3: Complete the Setup Wizard
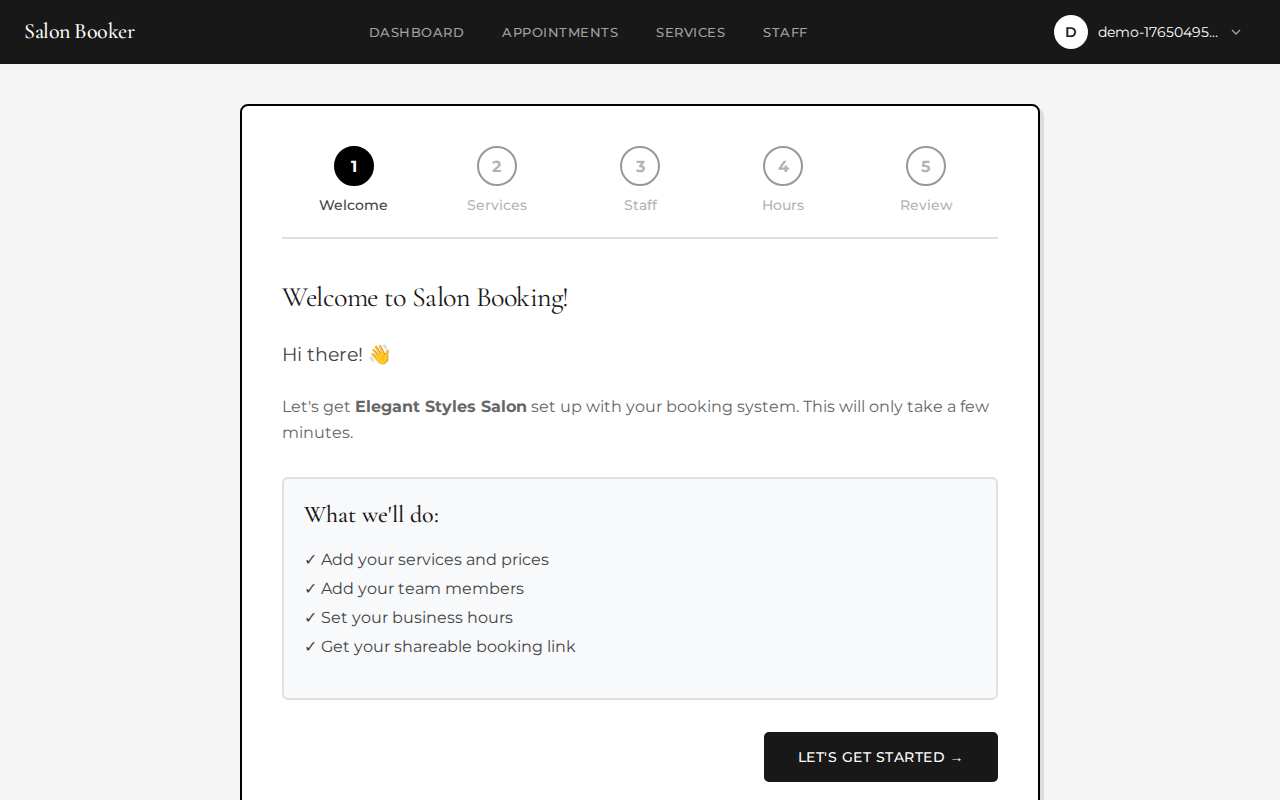
Once your email is verified, you'll be guided through a 5-step setup wizard. This wizard helps you configure everything your booking page needs.
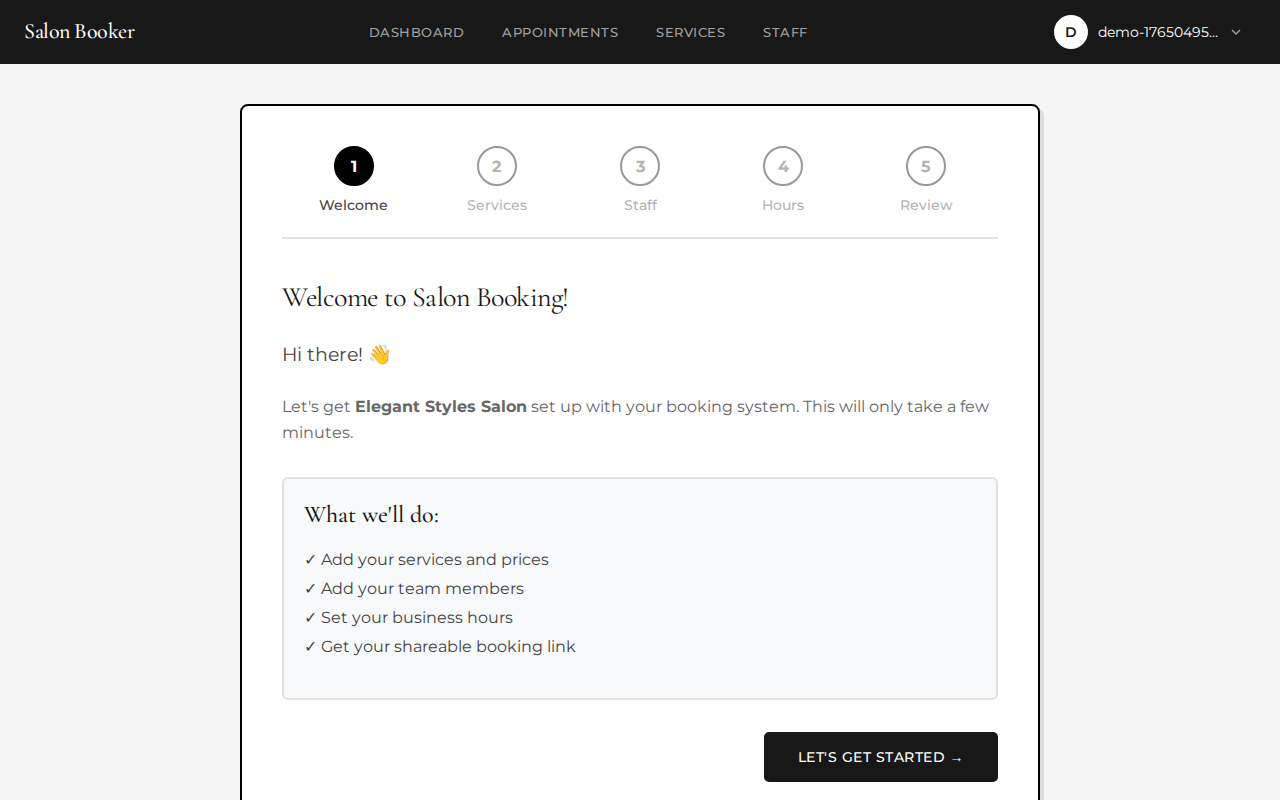
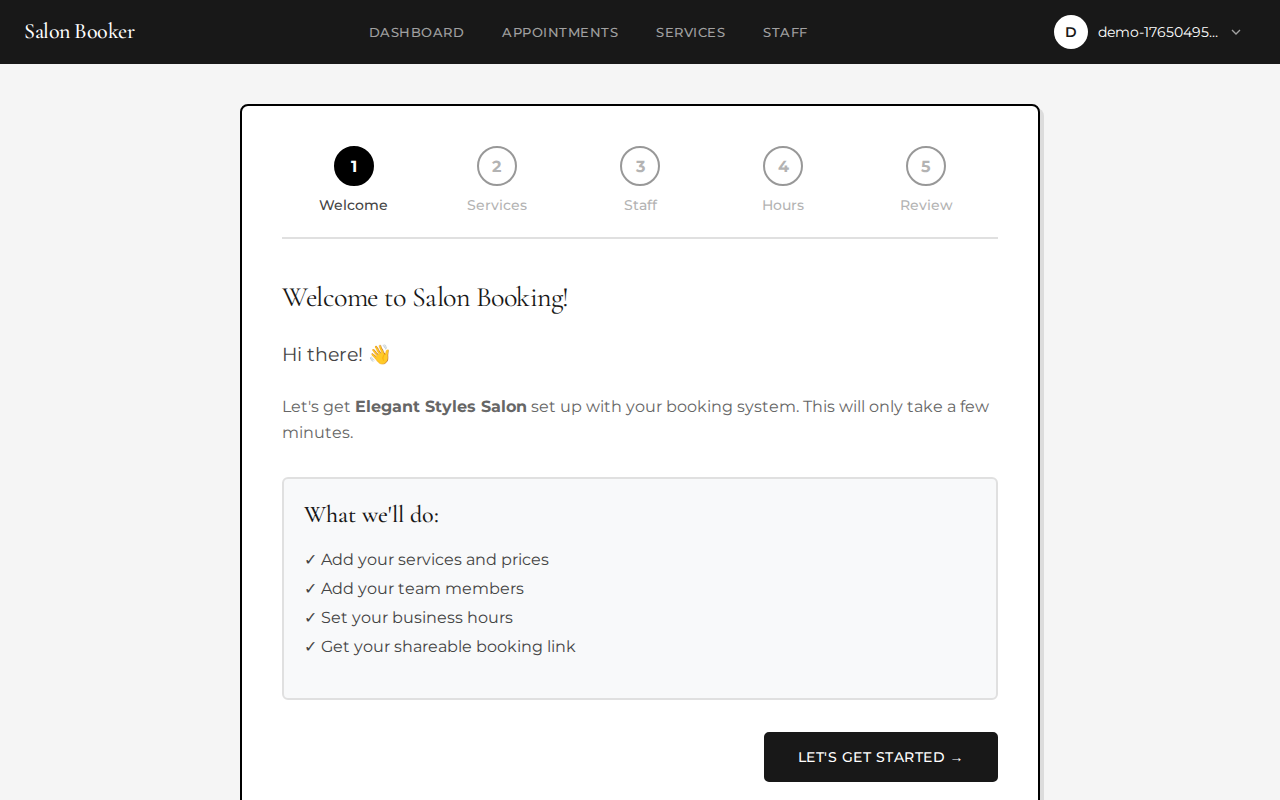
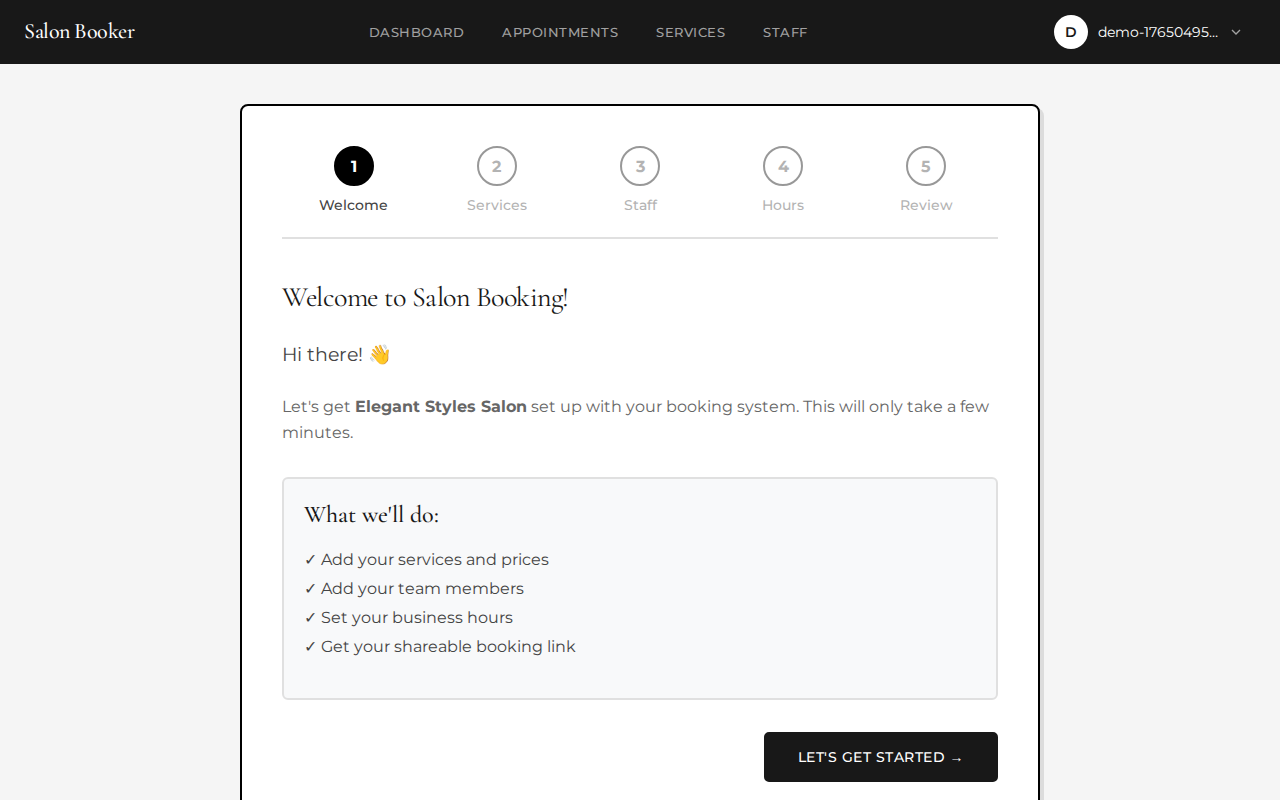
Welcome Screen
The first screen welcomes you and explains what you'll set up. Click "Let's Get Started" to begin.
Add Your Services
This is where you add the services your salon offers. For each service, enter:
- Service Name — What clients will see (e.g., "Women's Haircut")
- Category — Select from Haircut, Coloring, Styling, Nails, Massage, Facial, Waxing, or Other
- Duration — How long the service takes (in minutes)
- Price — What you charge for this service
Click "Add Service" after entering each one. You can add as many services as you need. When done, click "Continue" to move to the next step.
Be specific with service names. Instead of just "Haircut," consider "Women's Haircut," "Men's Haircut," and "Children's Haircut" as separate services with appropriate prices.
Add Your Staff
Add the team members who will perform services. For each staff member, enter:
- First Name and Last Name
- Role — Optional title like "Senior Stylist" or "Nail Technician"
- Phone and Email — Optional contact information
- Services — Check which services this person can perform
If you're a solo salon owner, just add yourself! You can skip this step and add staff later if needed.
Set Business Hours
Configure when your salon is open for appointments. For each day of the week:
- Set your opening and closing times
- Check "Closed" for days you don't operate
Use the "Copy to All" button to quickly apply the same hours to multiple days.
Review & Launch
The final step shows a summary of everything you've configured:
- Your business name and booking URL
- All services with prices and durations
- Your staff members
- Your business hours
Review everything carefully. When you're ready, click "Launch My Booking Page" to make your booking page live!
Step 4: Your Booking Page is Live!
Congratulations! Your booking page is now active and ready to accept appointments. You'll be redirected to your dashboard where you can:
- Copy your booking link — Share it on social media, your website, or via text/email
- View appointments — See all bookings in one place
- Manage services and staff — Update your offerings anytime
- Configure settings — Set deposit percentages and holidays
Now that your booking page is live, share your booking link everywhere! Add it to your Instagram bio, Facebook page, website, and business cards. The more places clients can find it, the more bookings you'll get.